Step-by-Step Guide to Setting Up a Girvi Management Software
In 2025, running a pawn (girvi) business without proper software is like trying to run a bank without a computer — slow, risky, and inefficient. Girvi Management Software not only helps you manage loans, interest, and records efficiently, but also ensures compliance, security, and better customer service. Follow this step-by-step guide to move from manual to digital smoothly.
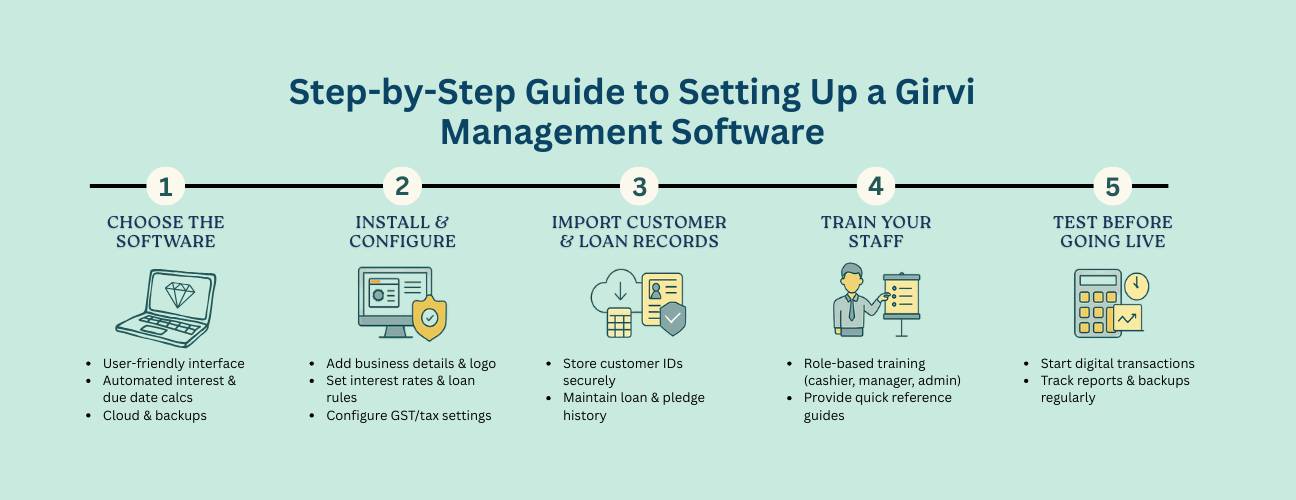
1) Choose the Right Software
Start by selecting a solution that fits your business model and growth plans.
- User-friendly interface (minimal training required)
- Automated interest & maturity calculations (daily/monthly/custom cycles)
- Cloud storage & automated backup for data safety
- KYC tools (document upload, expiry alerts, verification workflows)
- Multi-device access (desktop, tablet, mobile) and offline mode with sync
- Multi-branch support (centralised control, branch-level reports)
- Templates for receipts/agreements (branding & legal clauses)
2) Install & Configure the Software
Depending on the vendor, either install a desktop app or log into a cloud portal.
- Enter business name, address, contact details, and GST (if applicable)
- Upload your logo and set receipt/loan agreement branding
- Configure default interest rates, calculation methods & late-fee rules
- Set tax/GST settings and invoice numbering formats
- Create user roles (Cashier, Manager, Owner) with permissions
3) Import or Enter Existing Records
Migrate active loans first to ensure continuity.
- Collect active loan & customer details from registers/old software
- Use Excel/CSV import tools where available
- Spot-check imported records against originals for accuracy
4) Add Customer Profiles & KYC Details
Build a reliable customer base with complete documentation.
- Store full name, mobile, address, and emergency contact
- Upload scanned IDs (Aadhaar, PAN, Voter ID, etc.)
- Link each KYC document to customer profiles and enable expiry alerts
- Attach prior loan history if applicable for faster repeat transactions
5) Configure Loan Types & Interest Rules
Standardise calculations to eliminate errors and disputes.
- Define categories: gold, silver, electronics, other valuables
- Set interest rates per category and allowed ranges
- Choose cycle: daily, monthly, or custom; add grace periods if any
- Configure overdue interest/penalties and part-payment handling
- Enable rate caps (where state limits apply) and warnings on breach
6) Train Your Staff
Successful adoption depends on clear, role-based training.
- Cashiers/Operators: Create loans, accept payments, print/email receipts
- Inventory/Store: Pledge item intake, photo capture, tagging
- Managers: Approvals, edits, reports, dues/overdues dashboard
- Owners/Admin: Rate policies, user roles, audit logs, backups
7) Test Before Going Live
Run end-to-end dry runs to validate accuracy and outputs.
- Verify interest/maturity on sample loans (with part-payments & renewals)
- Check receipt & agreement layouts and legal clauses
- Upload KYC docs and retrieve them from customer profiles
- Trigger SMS/WhatsApp reminders (due/overdue) to test templates
8) Go Live & Monitor Performance
Switch operations to digital and keep an eye on key metrics.
- Process all new transactions digitally; discourage manual slips
- Enable automatic cloud backups (daily at minimum)
- Track dashboards: daily loans, interest earned, dues/overdues, redemptions
- Review audit logs weekly to detect anomalies
Operational Checklist
Roles & Outcomes Map (Quick Reference)
| Step | Primary Owner | Outcome | What to Verify |
|---|---|---|---|
| Selection | Owner | Right-fit vendor & plan | Features, pricing, support SLAs |
| Configuration | Admin | Rates, taxes, templates in place | Receipt format, legal clauses, numbering |
| Migration | Admin/Manager | Active loans imported accurately | Spot checks vs. original registers |
| KYC Setup | Manager | Secure, searchable profiles | Document links, expiry alerts |
| Training | Manager | Confident staff usage | Role-based task drills completed |
| Testing | Manager/Admin | Accurate results & reminders | Interest math, template correctness |
| Go Live | Owner/Manager | All-digital processing | Daily reports & backup logs |
Conclusion
Setting up a Girvi Management Software may feel overwhelming at first, but with a structured approach you’ll enjoy faster transactions, better accuracy, stronger compliance, and happier customers. In the pawn business, efficiency and trust matter — and the right software gives you both.